Every Genesis Configuration box puzzle in Hellraiser: Revival solved: how each half should line up, plus where Suffering refills your box powers.
Hellraiser Revival Puzzle Box Guide: All Genesis Configuration Solutions
Clive Barker's Hellraiser: Revival hides exactly five Genesis Configuration slot puzzles, all of them mandatory story gates. Each check splits the box into two halves you set independently — cycle a half's shape, rotate it, then do the other — until the assembled outline matches the hollow silhouette cut into the stone. Below: where each slot is, the objective name at that point, and how both halves should end up.
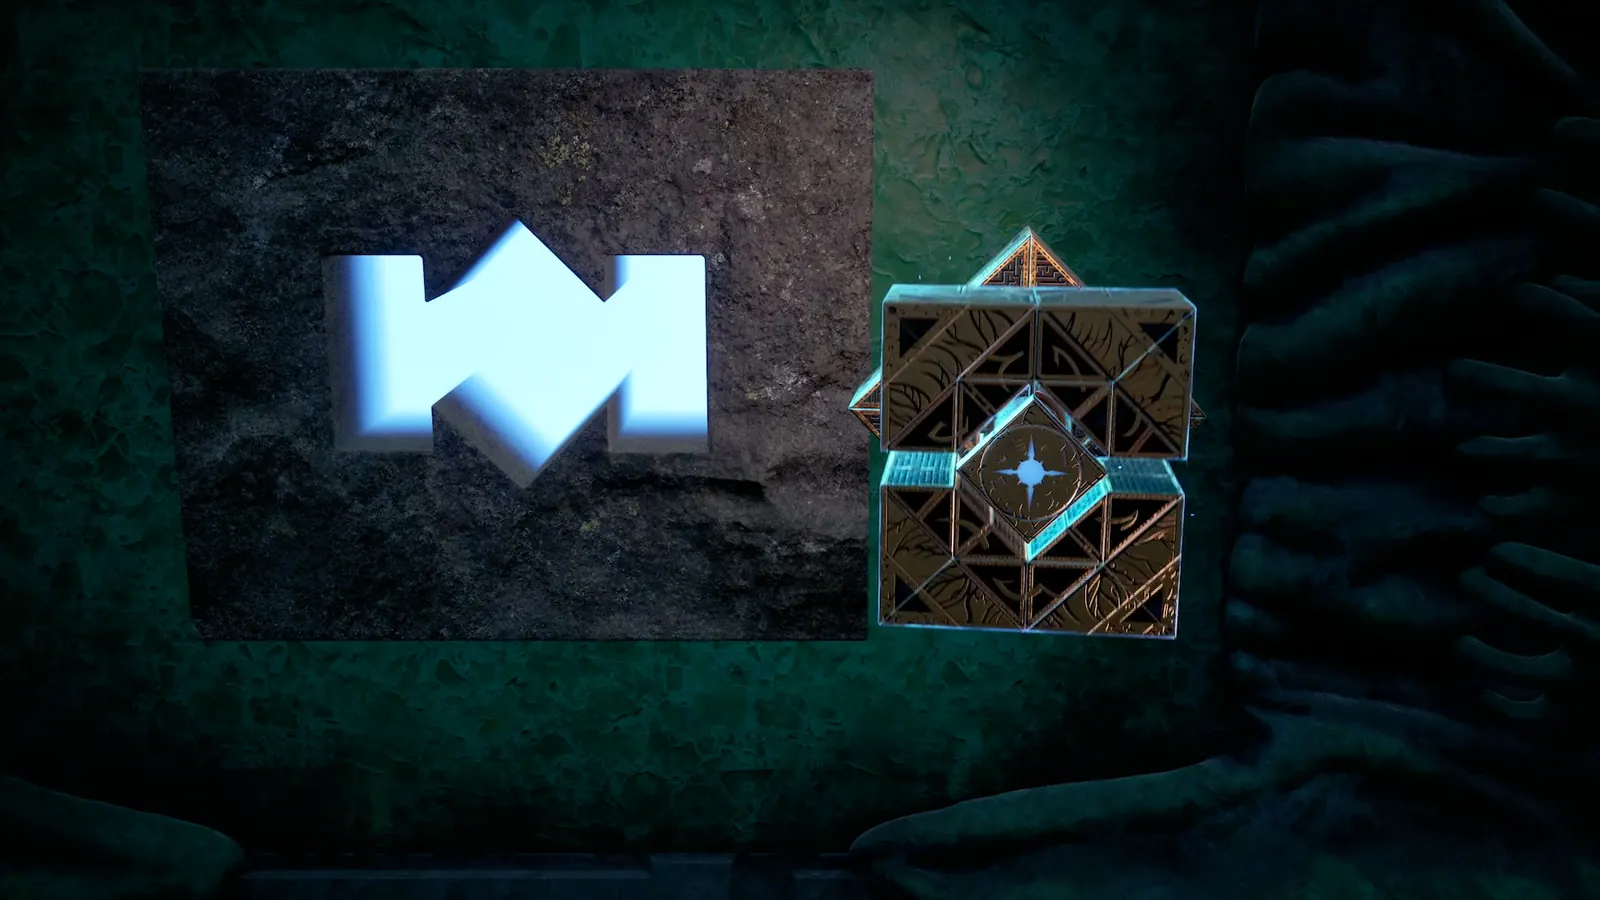
How a Genesis Configuration slot check works
The Genesis Configuration does double duty: it grants Aidan Lynch supernatural powers, and it is what supernatural locks accept. At a slot the box opens into two independently adjustable halves, and the check clears only when the assembled outline matches the cut-out — no code, no timing, no item consumption and no payout.
Two things trip players up: the silhouette is a negative (a diamond-shaped slot wants a square rotated 45 degrees, not flat), and the halves are not symmetrical — one side often reuses a shape you have already set, so it looks right while the other fails.
The prologue's first box use is a power puzzle (moving fire between pillars, then shifting blocks) that unlocks "What's in the Box?!" — no slot; see the Prologue walkthrough. "Puzzle Me This" tracks three Labyrinth traversal puzzles such as the spinning tube; the well puzzle, numpad codes and peephole ring are separate systems.
All five box puzzles at a glance
| # | Puzzle | Objective when it appears | Side 1 | Side 2 |
|---|---|---|---|---|
| 1 | Sunny's pillar | Free Sunny's Soul | Square rotated to a diamond | Two parallel bridges, one left and one right, legs facing inward |
| 2 | Hand statue | Complete the First Statue | Two boulder shapes stacked top and bottom | Same boulders rotated 90°, one left and one right |
| 3 | Head statue | Complete the Second Statue | Flat square, sitting the correct way up | Border with gaps on two sides and a star-shaped hole in the middle, gaps left and right |
| 4 | Tongue statue | Complete the Final Statue | Standard square rotated to a diamond | Block in each of the four corners, petal-like |
| 5 | Factory shrine | Use the Elevator | Standard square rotated to a diamond (same as #4 Side 1) | Border with a gap on either side (same as #3 Side 2) |
Orientation wording follows GamesRadar's solutions guide, cross-checked against Destructoid's independent five-puzzle list (same count, names and order); objective names come from PowerPyx's 100% walkthrough, which uses the game's own Objectives labels.
Puzzle 1: Sunny's pillar (Free Sunny's Soul)
Late in Free Sunny's Soul, right after "Welcome to Oblivion – Reach the Field of Souls", the path ends at Sunny's pillar. Clearing it triggers "Every Drop of Blood You Spill…" (Resurrect Sunny) — full route in the Labyrinth walkthrough.
- Side 1: a square configuration, rotated so it reads as a diamond.
- Side 2: two parallel bridges. Rotate the box so one bridge sits on the left and one on the right, with the bridge "legs" pointing inward toward each other.
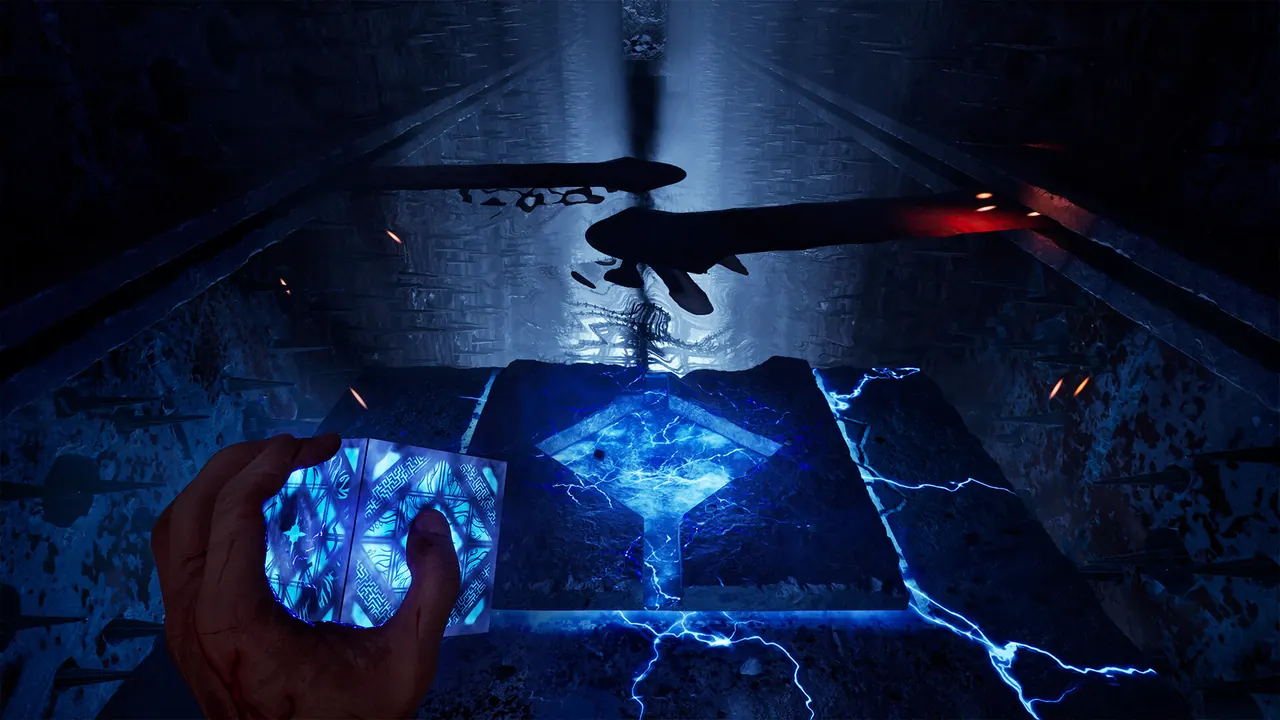
Puzzle 2: Hand statue (Complete the First Statue)
The slot sits on the gate east of the mansion and only accepts the box once you have the Statue's Hand from the pedestal in Bruno's house, set there with the Marlowe and Bruno figurines.
- Side 1: two boulder-like shapes with a flat bottom and a slightly curved top, sitting parallel. Rotate so one sits on top and one on the bottom.
- Side 2: the same shape turned 90 degrees, so one boulder is on the left and one on the right.
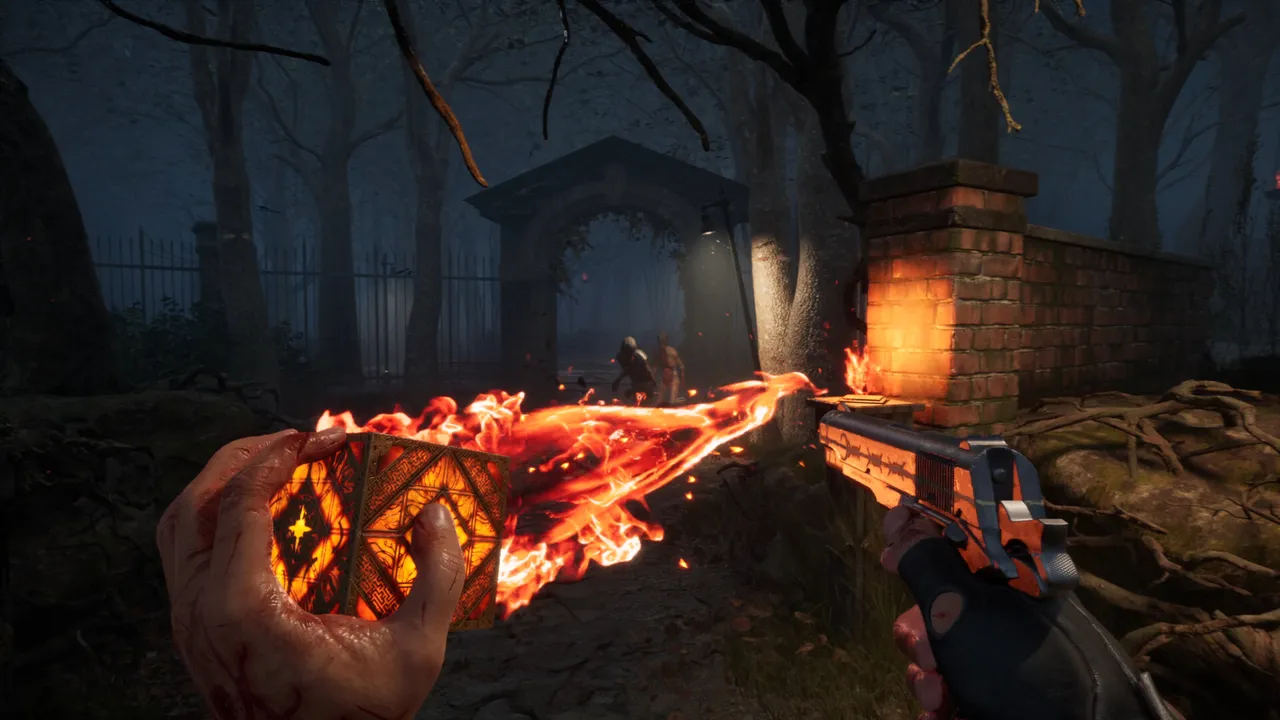
Puzzle 3: Head statue (Complete the Second Statue)
Take the Statue's Head from the cabin chair at the end of the swamp path to the gate to the northwest — the check people fail most often, since Side 1 is the boring answer.
- Side 1: a plain square, the correct way up — do not rotate it.
- Side 2: the border-like configuration with a notch taken out of two sides and a star-shaped space in the middle. Rotate it so the notches face left and right.
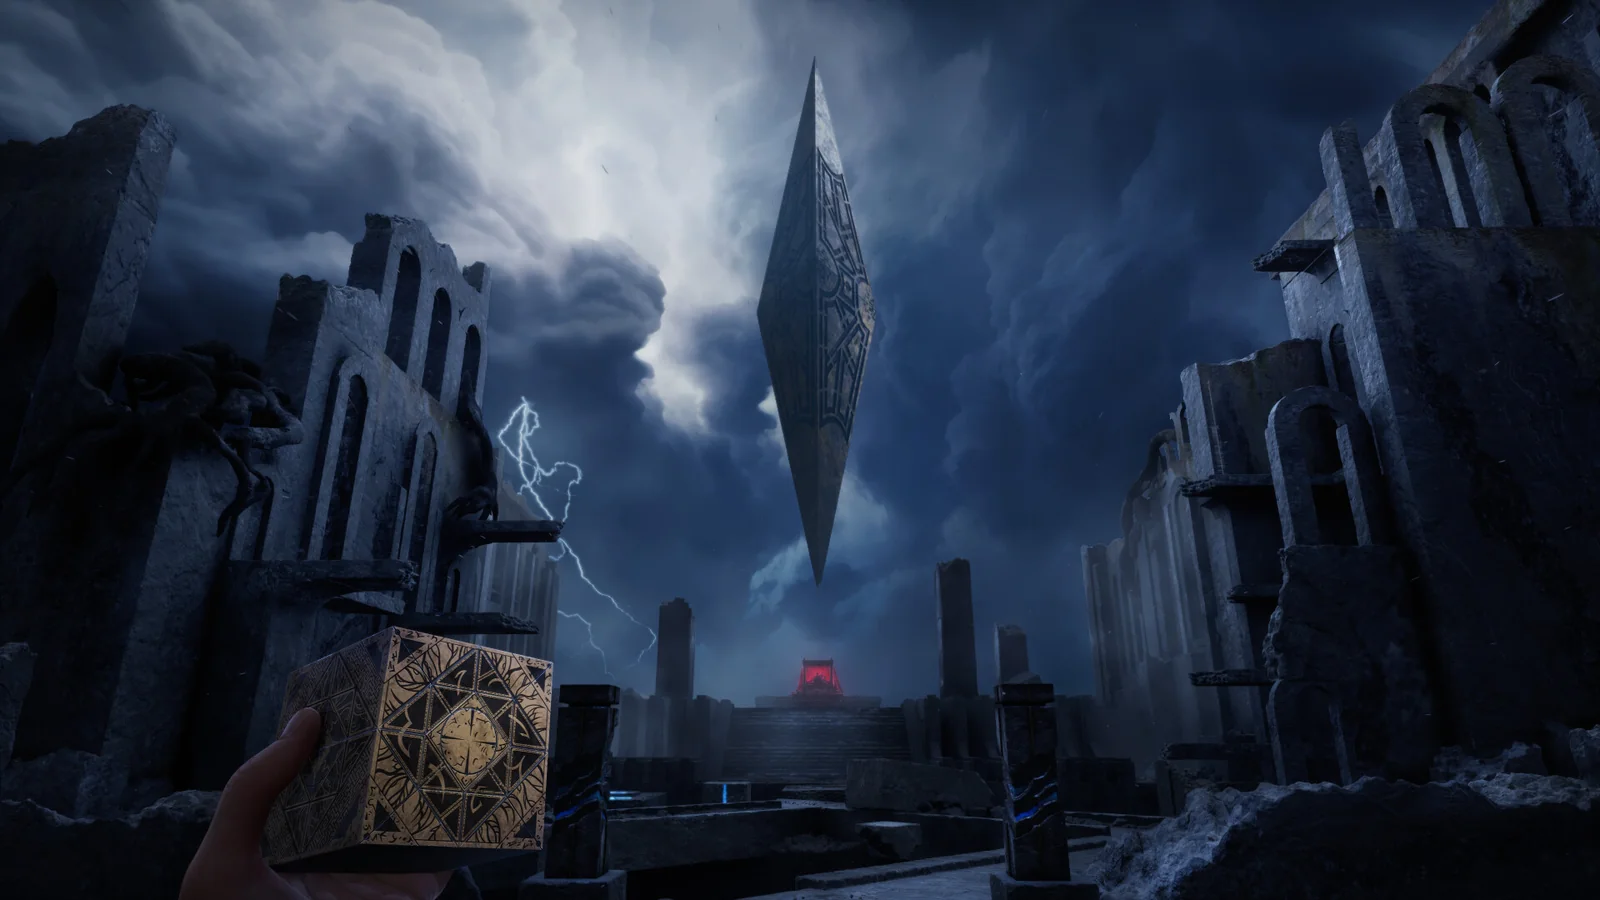
Puzzle 4: Tongue statue (Complete the Final Statue)
Gated behind the well puzzle: collect the three Puzzle Blocks (pagoda, south-west carousel, boat at the docks), rotate each in the well to match the drawing beside it, then carry the Statue's Tongue to the gate to the south.
- Side 1: the standard square, rotated to look like a diamond.
- Side 2: the pattern with a block in each of the four corners, each one shaped a little like a petal.
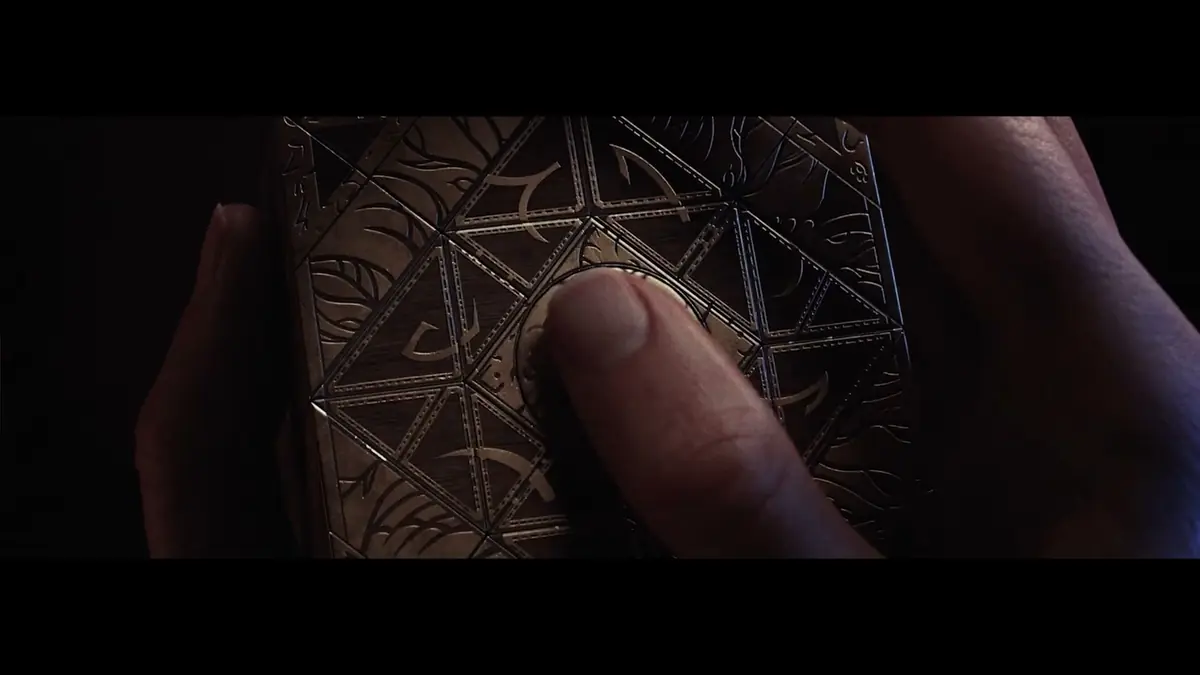
Puzzle 5: Factory shrine (Use the Elevator)
The last slot sits on the factory shrine beside the elevator to Marlowe and Bruno — during Use the Elevator, in the room opposite the fourth Zora shop. Fitting the box into the middle of the pillar yields the Heart-Shaped Inset for the door beside the shop, and as a greatest-hits repeat it is the easiest of the five.
- Side 1: standard square rotated to a diamond — identical to Side 1 of the Tongue statue.
- Side 2: the border-like configuration with a gap on either side — identical to Side 2 of the Head statue.
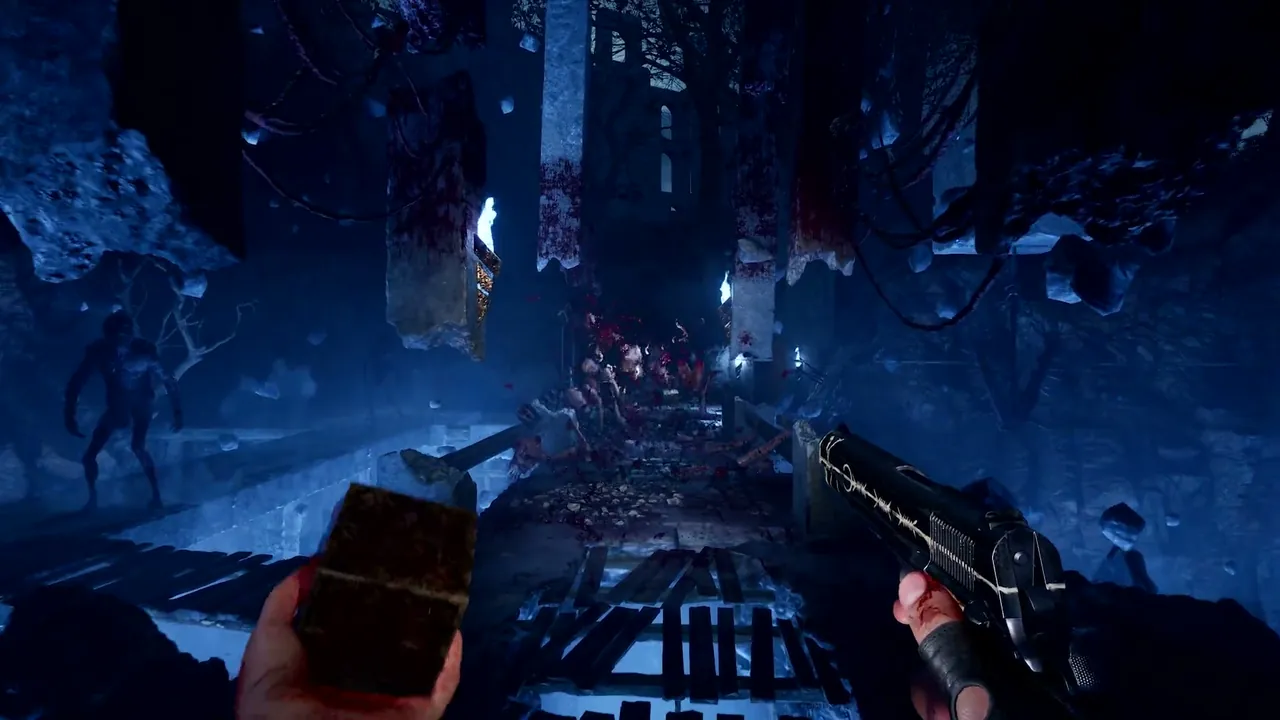
The check is free; the rooms around it are not — a wave spawns the moment you use the elevator key.
Suffering: what actually refills your box powers
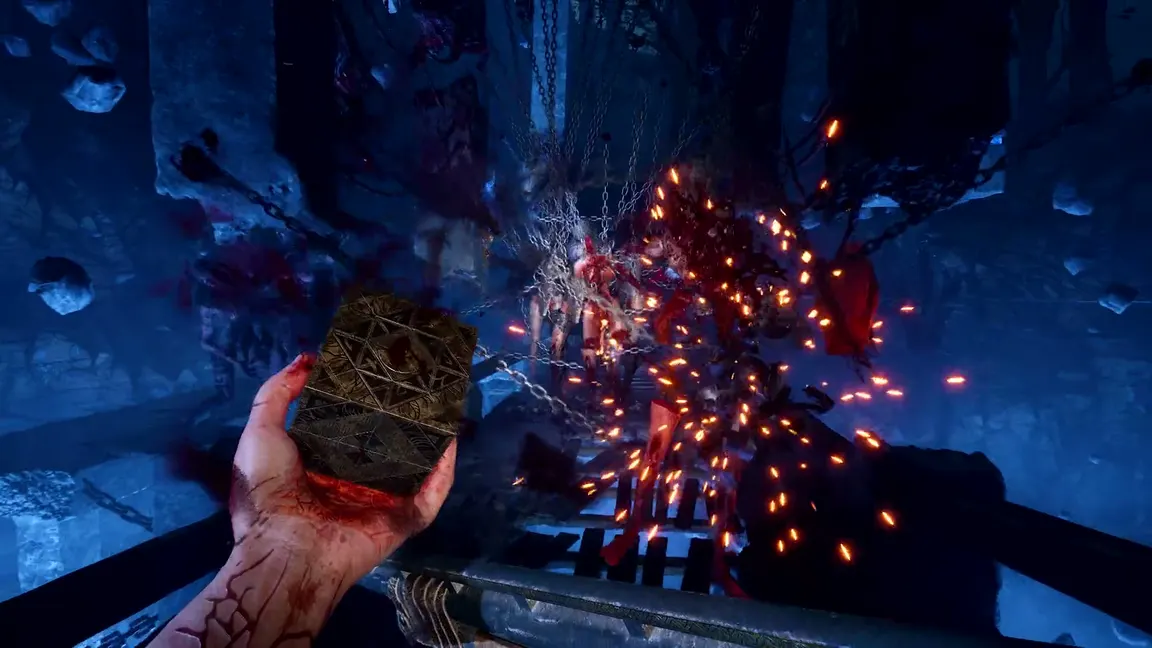
Suffering is the blue bar in the lower-left of the HUD and the only fuel the box's powers draw on. Telekinesis unlocks after the sewer section (trophy "With Great Power") and only fires with Suffering available. Hellchains unlocks after the final Chatterer escape (trophy "Unlimited Power!") and needs a full bar: fill it on Unworthy, then hold the shoulder buttons to hook the room.
Two ways the bar comes back:
| Refill source | What it does |
|---|---|
| Damaging enemies | A steady trickle in normal combat |
| Executing flashing-blue Unworthy with the box | The fast refill — and it feeds the 69-kill Hellchains trophy |
Capacity comes from the five Suffering Pillars (the five Pain Pillars raise health instead). Both sit among the 27 trophy-tracked collectibles on Labyrinth side paths, and with no chapter select or backtracking, a missed pillar stays missed — see all collectibles in missable order.
As of October 12, 2026 — four days after launch, with no official patch notes published yet — no walkthrough reports a Suffering cost for slotting the box into a lock, and GamesRadar notes outright that these puzzles reward no resources. Suffering is spent by your powers, not by the locks; the numbers live in the Genesis Configuration powers page.
Official source: Clive Barker's Hellraiser: Revival FAQ — Saber Interactive — Saber calls it a "single-player first-person action horror survival game" with "Around 8-12 hours of gameplay".
FAQ
How many Genesis Configuration puzzles are in Hellraiser: Revival? Five. GamesRadar, Destructoid and PowerPyx all show the same five slot interactions in the same order.
Can you fail or miss a box puzzle? No. All five are tied to story progress; what you can miss are the Pillars and collectibles on side paths.
Do the puzzles cost Suffering or give rewards? Neither, as of October 12, 2026. The lock takes the box for free; the bar is drained by Telekinesis and Hellchains, not by locks.
Is this the Lament Configuration? No. It is a new box for this game: the Boss Team collector's editions let you pick a classic Lament Configuration replica or the Genesis Configuration, so they are distinct items. Editions here.
Related
- Genesis Configuration Powers: Telekinesis, Hellchains and Suffering
- Hellraiser: Revival Labyrinth Walkthrough: Pillars, Hearts and Finale
- Hellraiser: Revival All Collectibles: 27 Locations in Missable Order
- Hellraiser: Revival Walkthrough Hub: Every Chapter in Order
Sources: GamesRadar Genesis Configuration solutions · PowerPyx 100% walkthrough · Destructoid all Genesis Configuration puzzles
More Clive Barker's Hellraiser: Revival Guides
The Genesis Configuration grants telekinesis and Hellchains, powered by Suffering. How every box power unlocks and the economy that feeds them.
Butterball, Chatterer, Deep Throat and new Cenobites like the Child, Cabalist and Fallen. Every Hellraiser: Revival Cenobite explained.
Aidan Lynch (Xalavier Nelson Jr.), Sunny (Leader Looi) and Pinhead (Doug Bradley) lead the cast. Every confirmed character and performer.
Easy, Normal, Hard and Hellraiser modes change enemies, loot and saving. Hard removes autosave; Hellraiser burns limited Save Tokens.
Bugged PS5 shop trophies, Hellraiser-mode save problems and collector's-edition delays. Every known launch issue and the workarounds.
The Labyrinth holds Pain and Suffering Pillars you can never return to. Route through Field of Souls, the heart hunt and the finale unmissed.
Official estimate is 8-12 hours; HowLongToBeat averages 8.5h story and 22.5h completionist; media clocked 15-18h for 100%. Every figure, sourced.
Metacritic lists PS5 69, PC 75 and Xbox 71; OpenCritic sits near 61% recommend. See every platform score and what drives the split.